
Got a broken mug or chipped bowl you can't throw away? Kintsugi, the centuries-old Japanese art of repairing pottery with gold, turns cracks into beautiful design features while embracing the idea that imperfections are worth celebrating
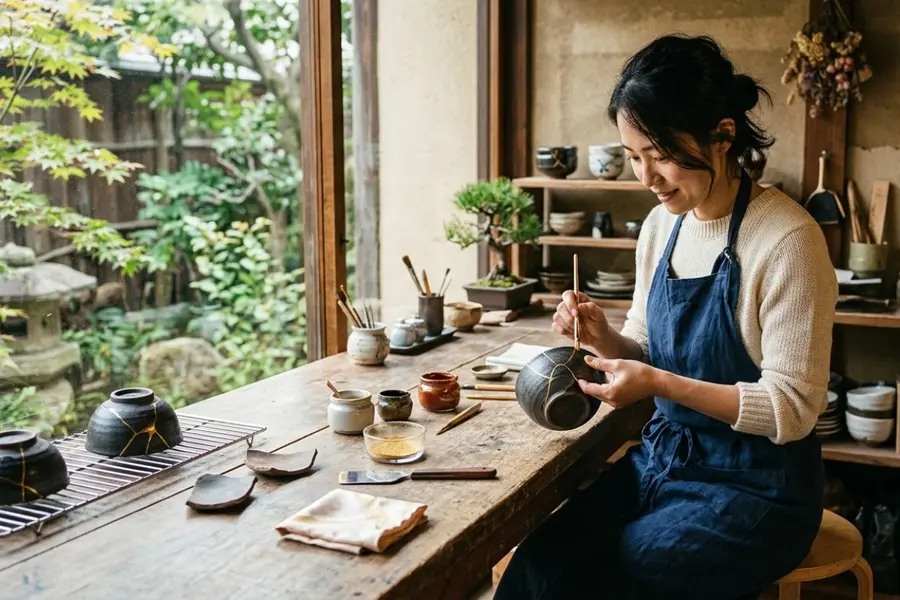
In a world obsessed with replacing things the moment they break, the Japanese practice of kintsugi offers a very different perspective. Instead of hiding cracks and flaws, kintsugi celebrates them. The centuries-old art form involves repairing broken pottery with lacquer mixed with gold powder, turning damaged pieces into unique works of art.
Also Read: Why Naruto’s ramen looks more delicious than real food; The secret behind anime food
Also Read
In recent years, kintsugi has gained popularity far beyond Japan, thanks to social media, DIY craft trends, and a growing appreciation for mindful hobbies.
If you have a chipped bowl, a broken mug, or a favourite ceramic piece that you cannot bear to throw away, here's how you can try kintsugi yourself.
What Is Kintsugi?
Kintsugi, which roughly translates to "golden joinery", dates back to 15th-century Japan. According to popular accounts, the technique emerged when a Japanese shogun sought a more beautiful way to repair a damaged tea bowl.
Rather than disguising the damage, artisans highlighted the cracks using precious metals such as gold, silver, or platinum. The philosophy behind kintsugi suggests that imperfections and repairs are part of an object's history and should be embraced rather than hidden.
Also Read: Why everyone is suddenly dressing like anime characters in real life
Today, many DIY enthusiasts use modern kintsugi kits that recreate the look without requiring traditional materials.
What you will need
For a beginner-friendly kintsugi project, gather:
- A broken ceramic or pottery item
- Strong ceramic adhesive or kintsugi repair glue
- Gold powder, gold mica powder, or metallic pigment
- A small brush
- Disposable gloves
- A mixing tray or small container
- Cotton swabs or a soft cloth
Many craft stores and online retailers also sell complete kintsugi kits that contain all the necessary materials.
Step 1: Collect and clean the broken pieces
Before starting, carefully gather all the broken fragments of your ceramic item.
Wash and dry each piece thoroughly to remove dust, dirt, or grease. Clean surfaces help the adhesive bond more effectively and create a stronger repair.
Take a moment to arrange the pieces like a puzzle to understand how they fit together before applying any glue.
Step 2: Apply the adhesive
Using a ceramic-safe adhesive, apply a thin layer along one broken edge.
Press the matching piece firmly into place and hold it according to the manufacturer's instructions. Continue joining the remaining fragments until the object is fully reassembled.
Avoid using too much glue, as excess adhesive may seep out and affect the appearance of the finished piece.
Step 3: Allow it to cure
Patience is important during this stage.
Leave the repaired object undisturbed until the adhesive has completely cured. Depending on the product used, this may take several hours or even overnight.
Rushing this step can weaken the repair.
Step 4: Create the golden finish
Once the adhesive has dried, mix your gold powder or metallic pigment with a small amount of clear lacquer or suitable medium if required by the product instructions.
Using a fine brush, carefully paint over the repaired cracks and seams.
The goal is not to hide the breakage but to highlight it. The golden lines become part of the object's story and visual appeal.
Step 5: Let it dry completely
Allow the decorative coating to dry fully before handling the piece.
Some products may require additional curing time. Follow the instructions provided with your materials to achieve the best finish.
Can you eat or drink from kintsugi-repaired items?
This depends entirely on the materials used.
Traditional kintsugi employs food-safe natural lacquer, but many modern DIY kits use adhesives and pigments that are not suitable for food contact.
Also Read: How to grow hanging flowers for balcony gardens: A simple beginner’s guide
If you plan to use the repaired item for eating or drinking, ensure that all materials are certified food-safe. Otherwise, it is best to display the piece as decorative art.
Why people love kintsugi
Part of kintsugi's appeal lies in its philosophy. Rather than striving for perfection, it embraces flaws and repairs as part of an object's journey.
Many people find the practice surprisingly therapeutic. The slow process of piecing something back together encourages patience, focus, and mindfulness. It also offers a sustainable alternative to discarding damaged household items.
In a culture where replacing often seems easier than repairing, kintsugi reminds us that broken things can still be beautiful.
Common beginner mistakes to avoid
If you are trying kintsugi for the first time, avoid these common errors:
- Using too much adhesive can make repairs messy and difficult to finish neatly.
- Handling the object before it has fully cured can weaken the joins.
- Choosing heavily damaged pieces with many missing fragments can make the process frustrating for beginners.
- Skipping the cleaning step may prevent the adhesive from bonding properly.
- Starting with a simple break, such as a mug split into two or three pieces, is usually the easiest way to learn.
-Compiled by Salma
Published: 11 Jun 2026, 03:31 pm IST
ABOUT THE AUTHOR
Related Topics
Disclaimer: Kindly avoid objectionable, derogatory, unlawful and lewd comments, while responding to reports. Such comments are punishable under cyber laws. Please keep away from personal attacks. The opinions expressed here are the personal opinions of readers and not that of Mathrubhumi.